You will need a pot or skillet. It definitely needs to have a lid (glass is great). Two handles are also preferable on the pot.

-Popping corn (yellow or white, I've used both and don't notice a difference)
-Vegetable oil
-White sugar, about a cup
-Extra bowl
-Stirring instrument
-2 pot holders (the kind you can slip your hands in are preferred) or oven mits.

Away from the stove, set up a second area:
-Large bowl (even bigger than this one if you have it)
-Salt, uncapped for ease of pouring
-Hot pad

Since each pot is different it is hard for me to give you exact
measurements on how much popcorn, oil, sugar etc to use so I am going to
show you how I measure. Cover the bottom of your pot with a thin layer
of popcorn:
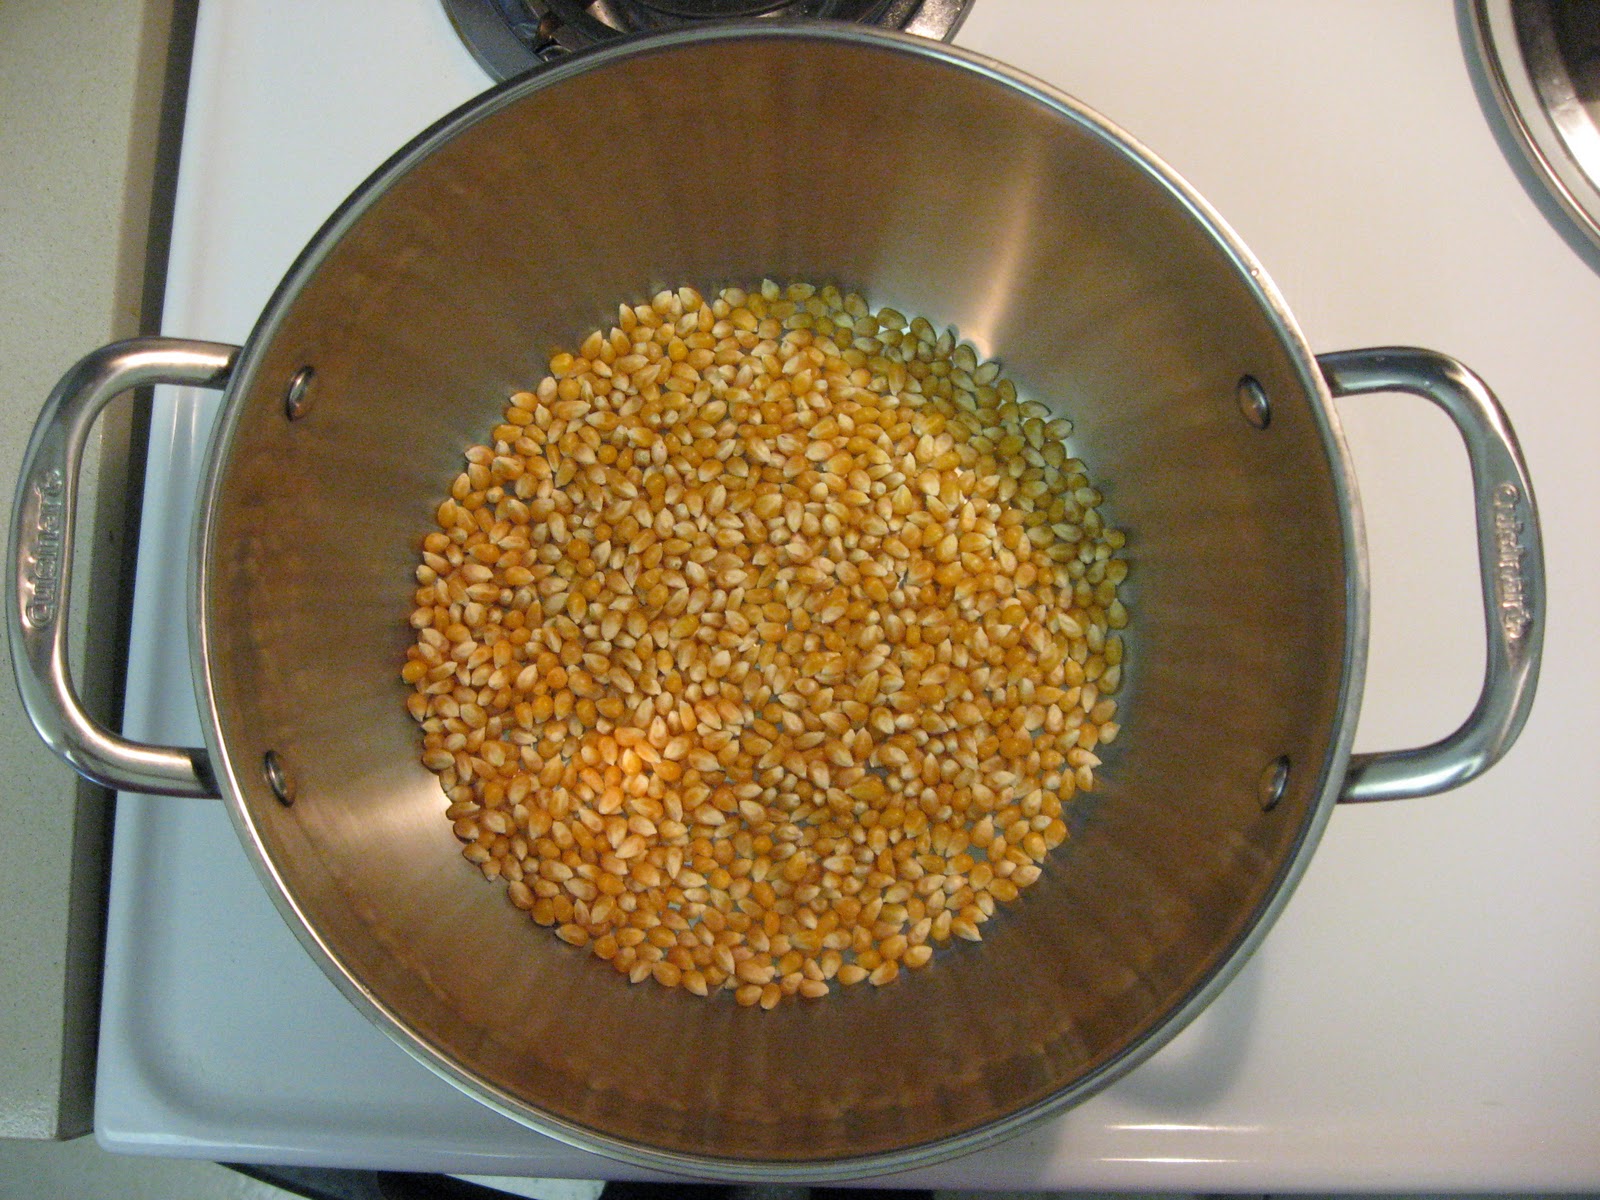
Once measured, pour the kernels into the extra bowl and set aside.

Turn the heat on under your pot. I set mine at 7 for my electrical stove. If the heat is too high the popcorn and sugar will burn (ew). Pour enough oil in your pot to cover the bottom of it and add 3 test kernels.

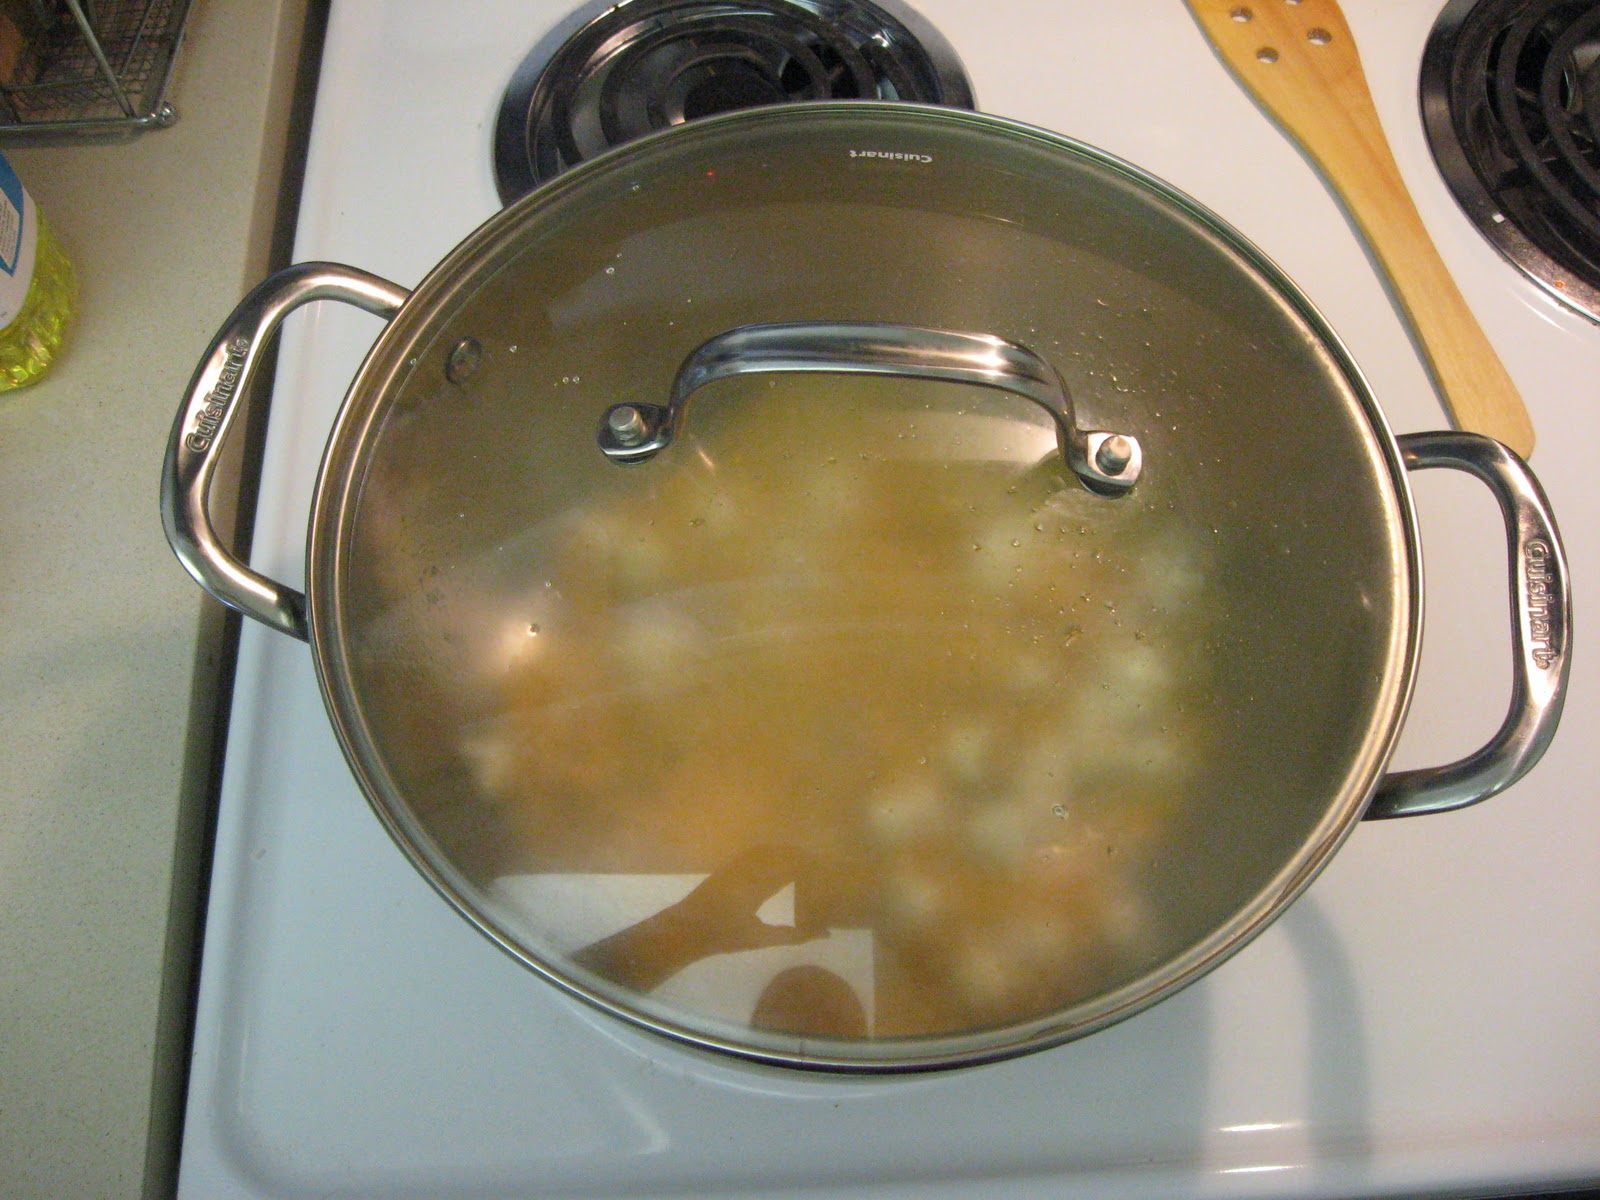
Cover the pot.

When the test kernels pop, the oil is ready. It took my stove about 3 minutes for the kernels to pop.

Remove the lid, pour in the popcorn and quickly add sugar. I add enough sugar so that once I stir the mix together, there are scattered clumps of sugar and oil. If you add too little sugar, then there will be no clumps. If all you have is clumps, then add a bit more oil. I started with about a cup of sugar and used about 3/4 of it. It should look like this:

The sugar is going to melt as the oil reheats. I stir periodically while the oil is reheating. Once I start to hear popping (be wary of flying oil and kernels, wear battle gear if you are worried) put the lid on and grab your two pot holders.
Every 20-30 seconds I pick the pot up using the pot holders and shake it vigorously from side to side. Think of it as extreme jiffy pop shaking. While shaking I lift the pot up off the stove. This keeps the kernels from sticking and the sugar from burning.


The popcorn will begin to rise as the kernels pop. I continue to shake the pot every 20-30 seconds until the frequency of the popping dies down to about 1 every 5 seconds. You can probably leave it on longer to cut down on the number of uncooked kernels, but I don't like burnt sugar on my popcorn...

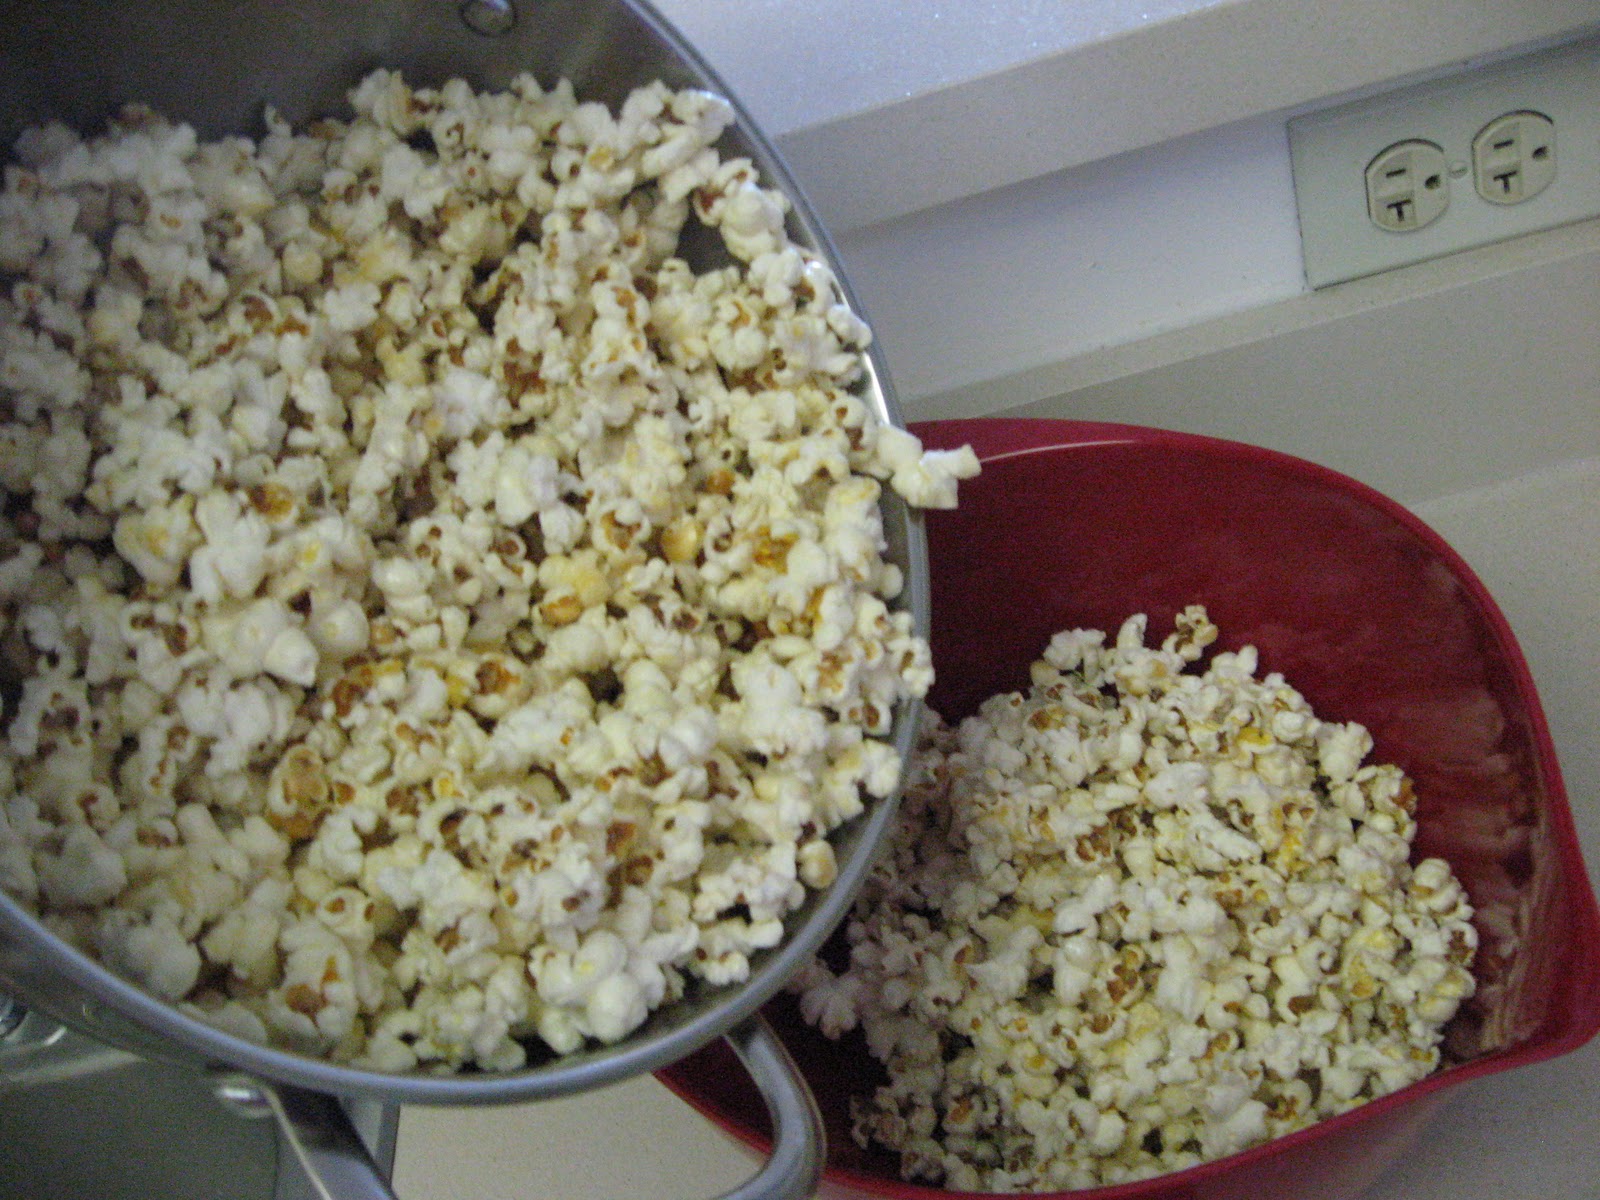
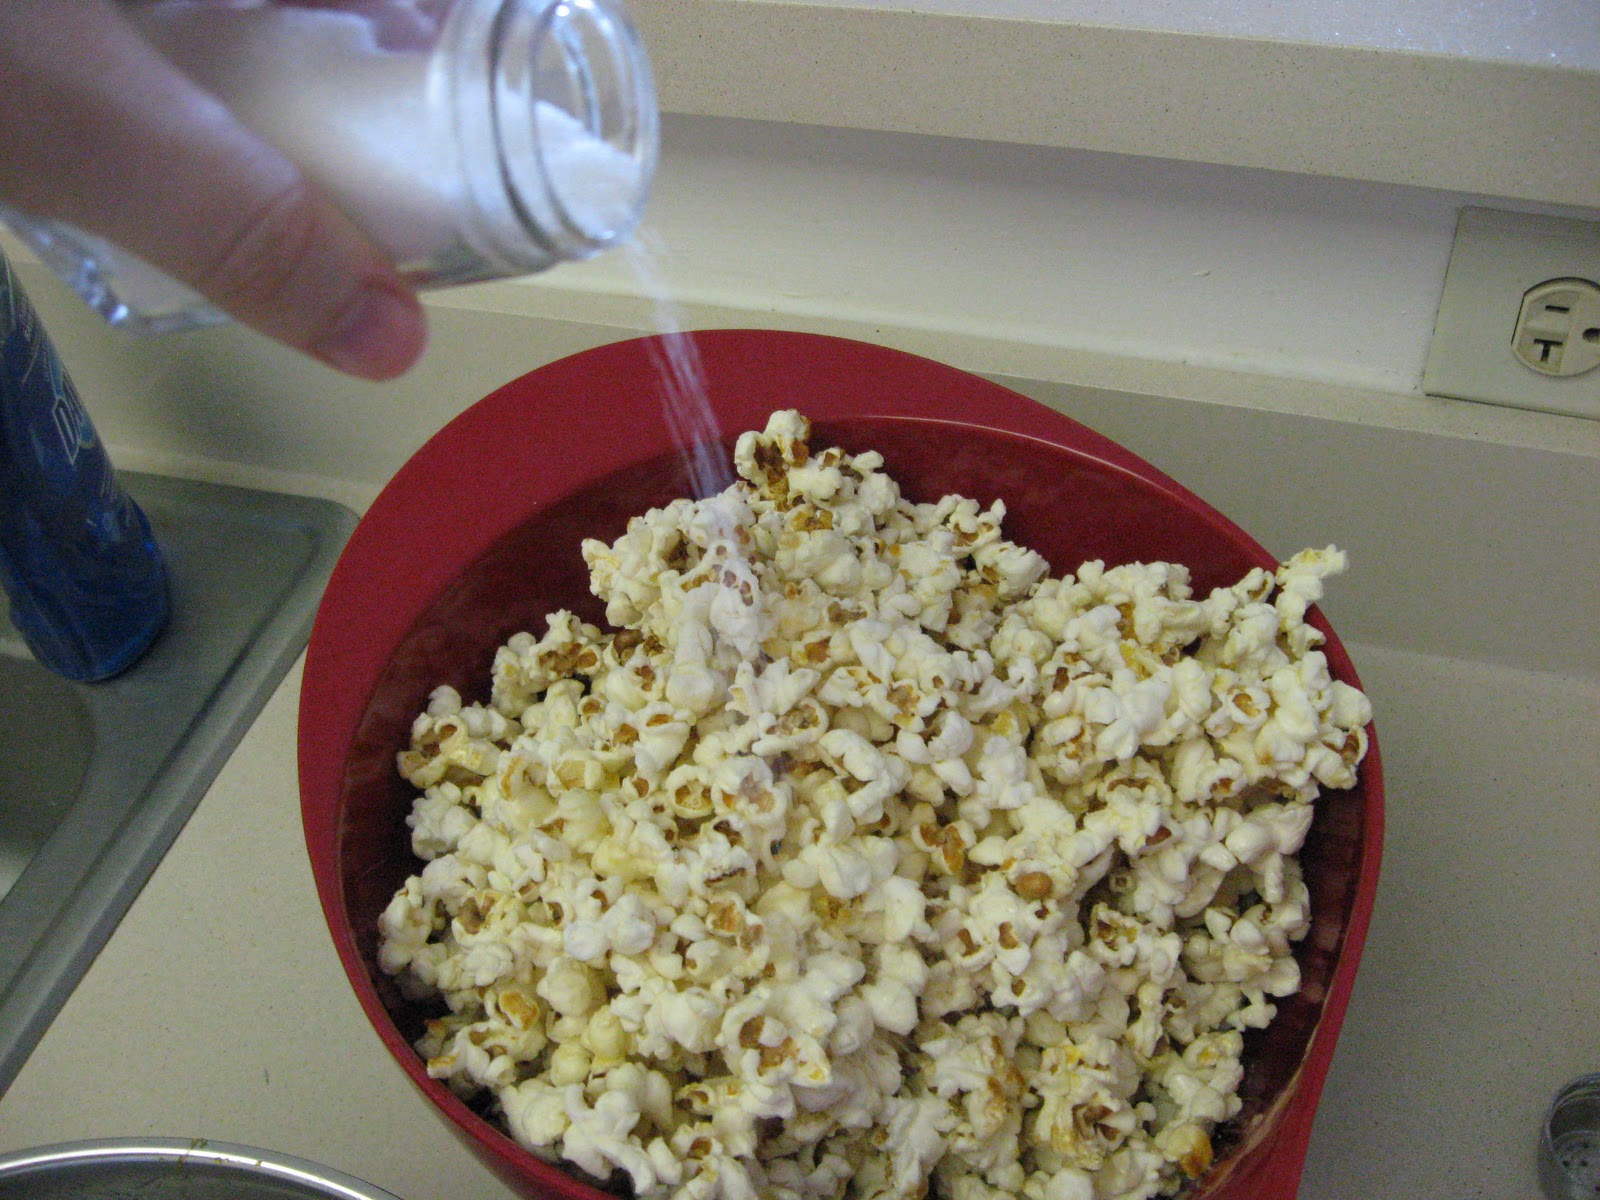
When you think it is done, remove the pot to the other area away from the stove you set up. First remove the lid, then pour the hot popcorn into the bowl.
Immediately pour salt onto the hot popcorn. Start with less and then add as you go.
Stir the popcorn to distribute the salt and facilitate cooling. The popcorn will be sticky for a while until it completely cools.
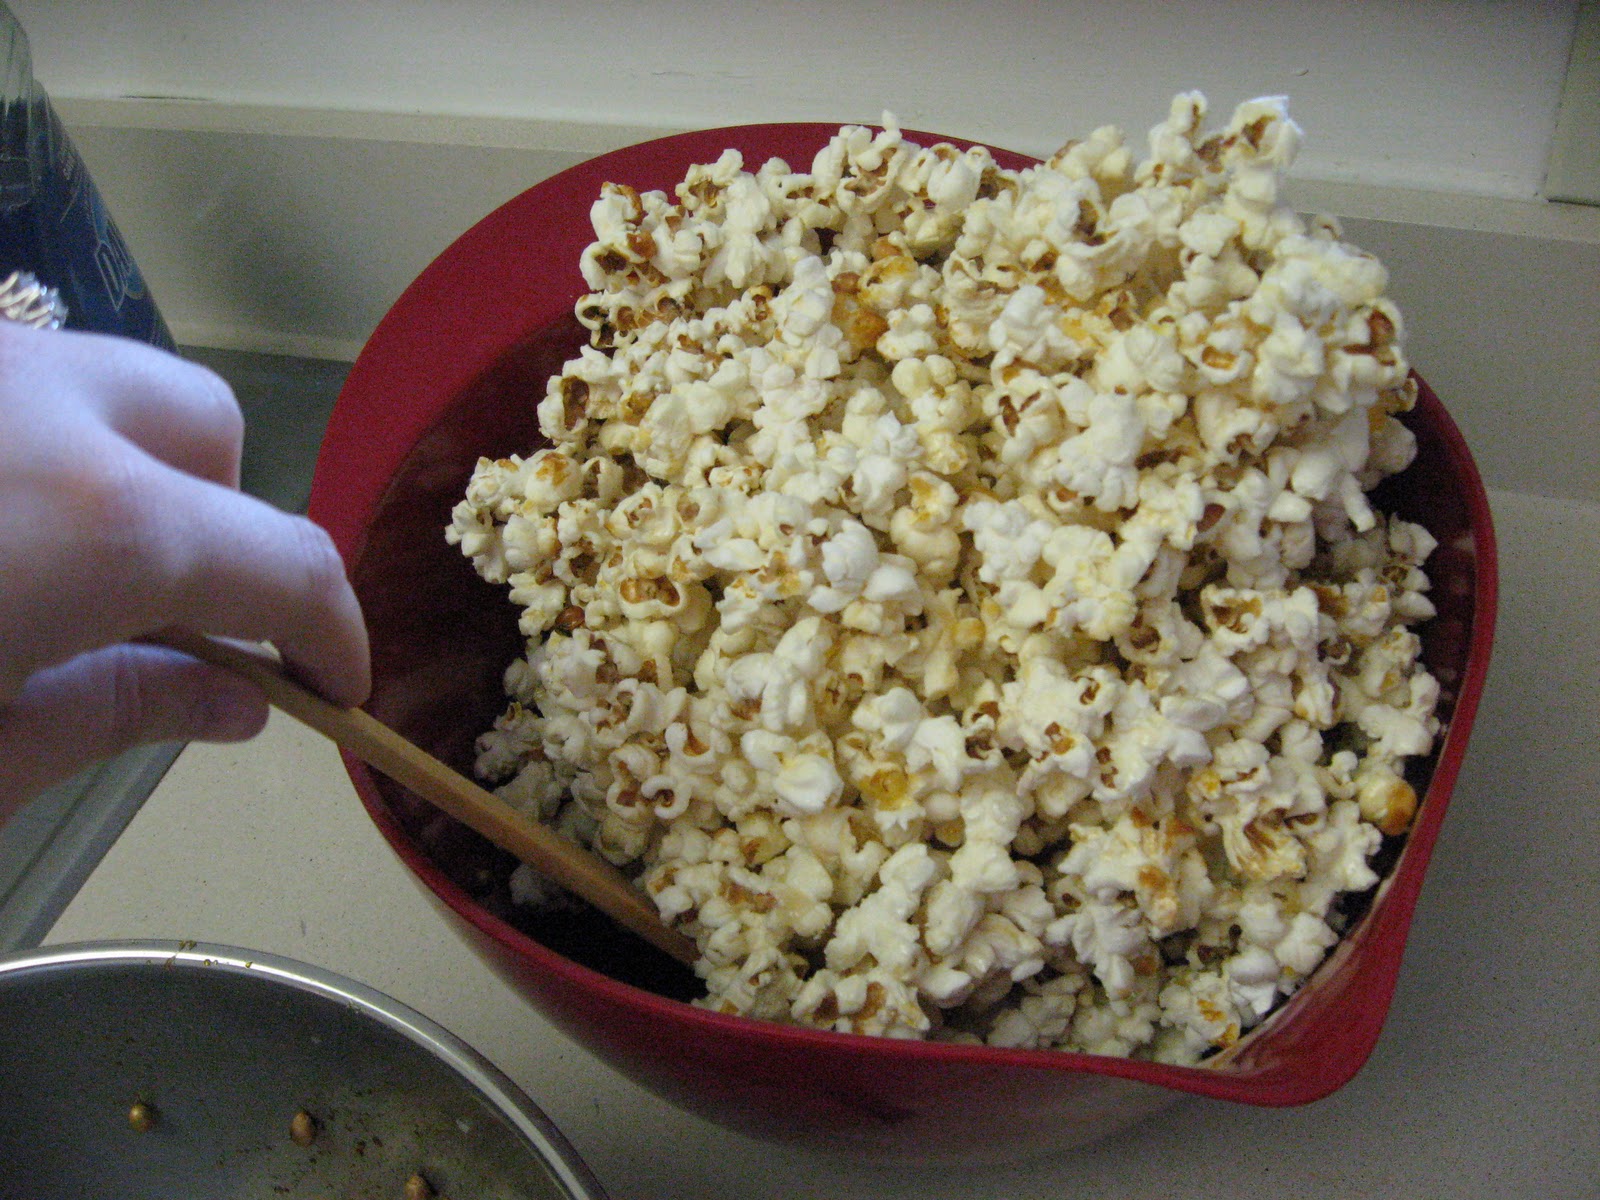
And that is about it! Store the popcorn in air tight containers, ziplocs, etc.
Enjoy!